


Please allow Pop-ups from scalemodelbuildings.co in order to fully utilize our website
Post & Beam Construction with scalemodelbuildings.co:
This is a brief overview on using scalemodelbuildings.co templates to create post & beam model structures.
Post and Beam, or Timber Frame construction is a very suitable method of model building when you want to show an authentic looking interior of a model structure. It is also an easy way of creating an "under construction" model building.
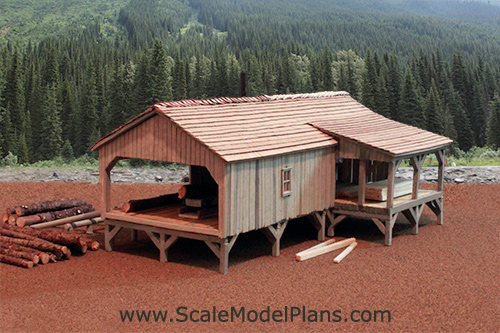
This version of the Arrow Creek Sawmill uses hand made shakes, (see shake roof tutorial), and siding, and standard 1/8" balsa strips for the actual posts and beams. Most of the plans from www.scalemodelbuildings.co can easily be adapted to post & beam construction.
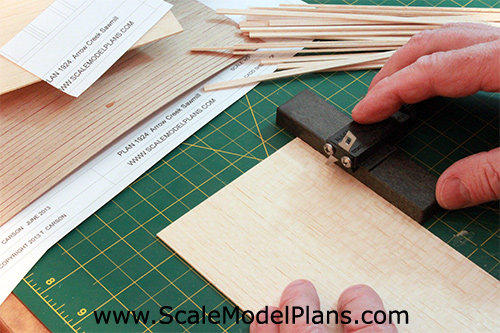
A strip cutter, available from Micro Mark, can be used to cut post and
 beams as well as strips of siding. The siding for this H.O. scale project was cut from 1/16" balsa. The scale of thickness is not accurate, but it's easy to work with and gives a nice effect.
For more realistic scale thickness you can use veneer sheets, available at many building supply or hobby stores. The Sumas Prairie Barn, Plan 1056, was constructed this way.
An alternative to using a strip cutter is to use the method described in our"Corner Boards" tutorial, but using a strip cutter is much quicker.
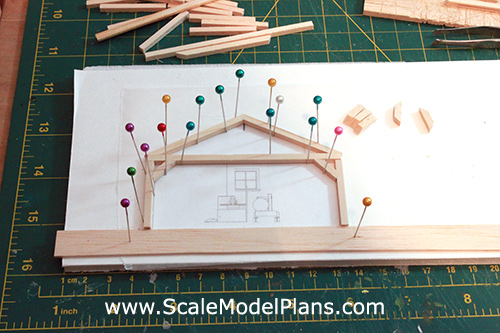
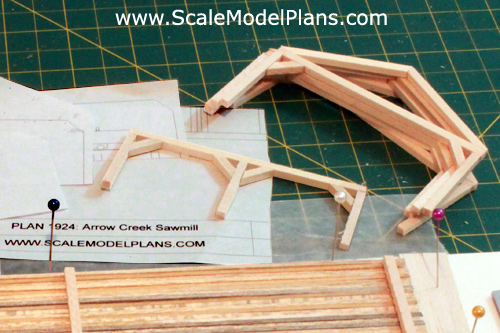
For this project I have created wall/roof combination "trusses". Trusses were created for opposite facing walls, and adjacent walls were created by filling in with connecting lengths of material.
Cut out the scalemodelbuildings.co templates for each of the walls. Use small traces of glue to hold them to a scrap piece of foam board. Place a piece of wax paper over top to keep from accidently gluing the pieces to the templates.
Place pins on both sides of each post and beam to hold everything in place while gluing.
I prefer to tack everything in place with super glue, then carefully remove from templates.
Any wax sticking to the assemblies can be scraped off with a knife or razor blade.
I created additional mid-span walls as well, using the outside wall templates.
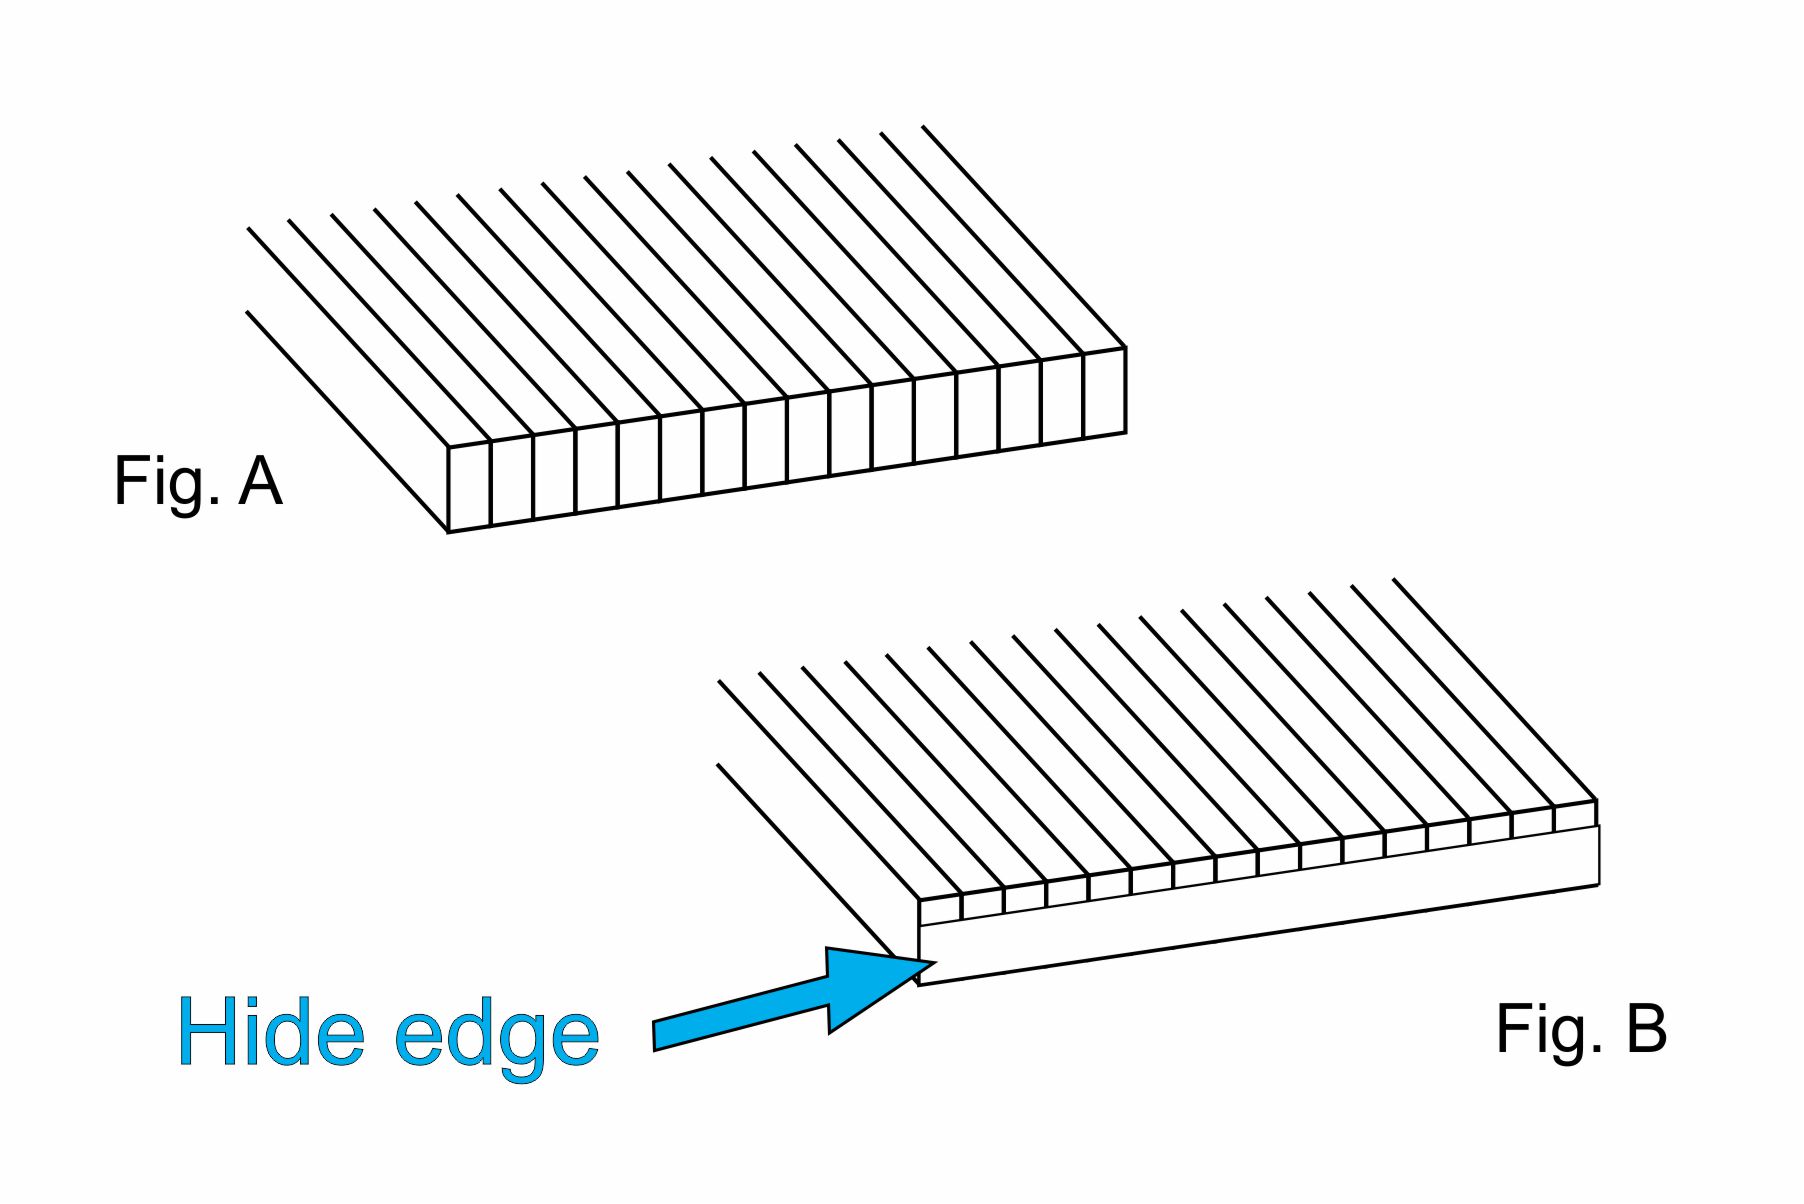
Plank flooring can be created with the same strips cut for the siding. Fig. A shows a series of strips stacked side by side. The exposed ends would have the appearance of a row of floor joists, which wouldn't be practical.
In Fig. B the exposed ends can be hidden with a horizontal strip, exposing enough of the flooring to be visually accurate.
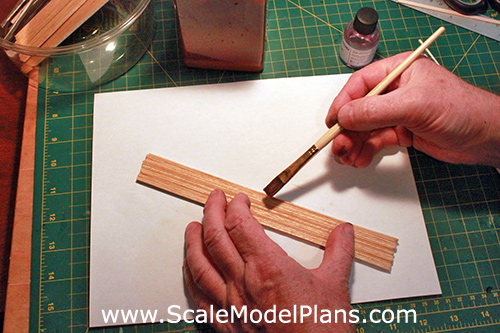
To randomize the appearance of siding or flooring stain the strips in batches rather than all at once. With each batch slightly change the shade of the color. When dry, mix the strips up randomly before assembling.
It is very important to vary the shades of wood strips. Balsa and beech wood are very uniform in color and do not have a pronounced grain. When laminated together the effect of individual pieces is lost, and the individual pieces tend to blend in with each other.
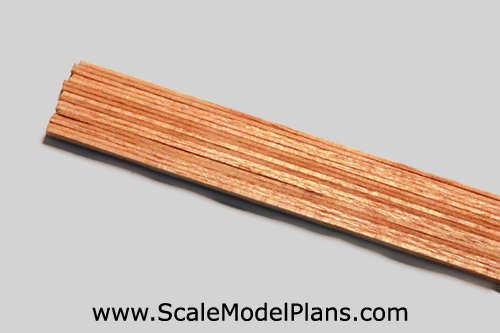
Randomized multi-colored strips of flooring will provide a more realistic appearance.
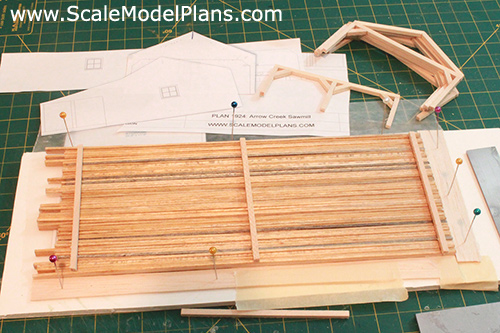
Lay the flooring strips onto the foam core and secure in place with pins. Use a sheet of wax paper between the floor template and wood strips.
Wide strips of balsa were used on one side and one edge to establish a 90° corner. Make the floor slightly larger than necessary. It can be squared up and trimmed once the pieces are glued together. Avoid allowing the glue to seep through to the other side.
With pieces snugly stacked side by side and secured with pins, remove a few strips and allow the remaining ones to relax and expand. The small gaps will provide a contrast between pieces and create a more realistic appearance.
Timber joists were added to line up with the foundation columns.
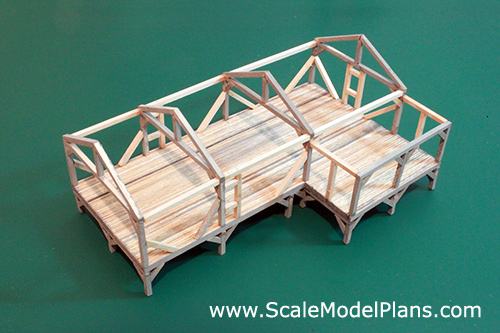
Once the floor is assembled and trimmed to proper dimensions you can attach your wall/roof trusses.
Adjacent walls are formed with filler pieces. Add diagonal braces where possible.
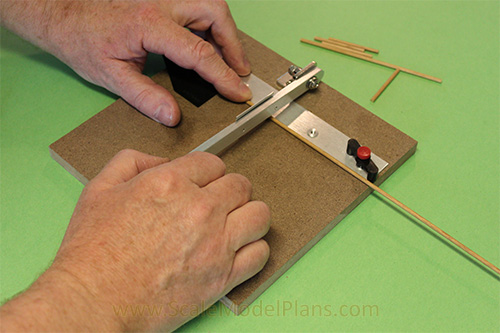
A chopper is very useful for cutting multiple pieces of uniform length. The siding for this project was cut from 1/16" balsa as mentioned, and stained in random batches to create a more natural and realistic appearance.

Visit our News Page for monthly discounts on select plan packages.
Up to 15% off!
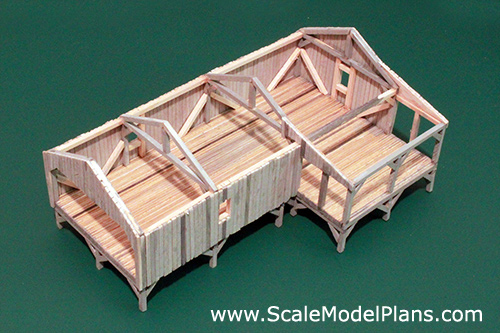
This is the complete footing/floor/wall assembly.
The original mill, as with many of the era, sat on a stilt/post & beam foundation.
The shake roof was hand made from veneer using the procedures outlined in our Shake Roof tutorial.
To purchase the plans for the Arrow Creek Sawmill Click Here
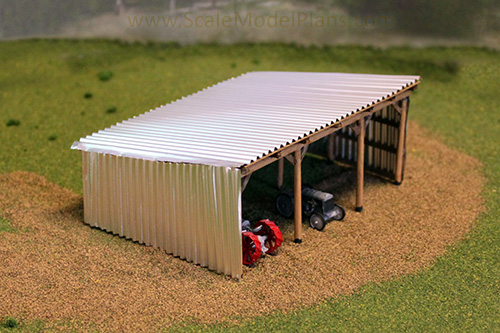
This farm equipment shed is another Post & Beam, or Timber Frame construction project.
Free plans for this shed in N, HO, OO, and O scales can be downloaded here. If you are modeling in another scale please see our Other Scales tutorial.
Happy Modelling!
![]()
View our On-line Catalog
of N Scale and HO Scale plans, templates, and Cardstock patterns, then click to order the printable PDF files so you can get started on your next project.
Disclaimer:
Information provided in these tutorials is for informational purposes only. Owners of this website offer no
guarantees and assume no responsibility or liability of any type with respect to the content of these tutorials and will not be
held liable for any damages or injuries caused by using or misusing the information on this site, and anyone using these
methods does so at his/her own risk. By viewing these articles you agree that you will not hold, or seek to hold, Owners of
this site responsible or liable with respect to the content of this site. Processes illustrated on this website should not be
undertaken without a complete understanding and knowledge of the safe and proper use of all related tools and processes.
Contact Us © 2023 T. Carson Legal