


Please allow Pop-ups from scalemodelbuildings.co in order to fully utilize our website
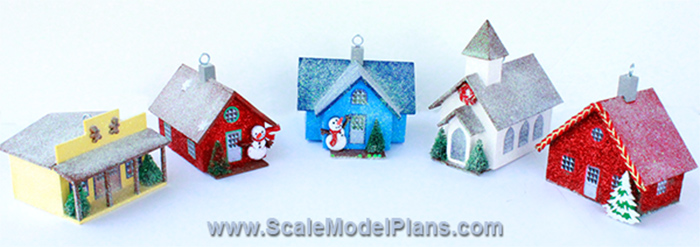
Making Glitter Houses:
This tutorial is designed to help with construction of Plan 1226, Glitter Houses. They can be used as a Christmas display, or hung from a tree as ornaments.
Back to Tutorials page 
Introduction:
This project is different than the regular projects featured on scalemodelbuildings.co in that they are imaginary structures, and not modeled after existing buildings. They are also designed to be relatively simple to construct, but if working as a family, please make sure that only the adults use the sharp tools.
Click here for Glitter House Plans
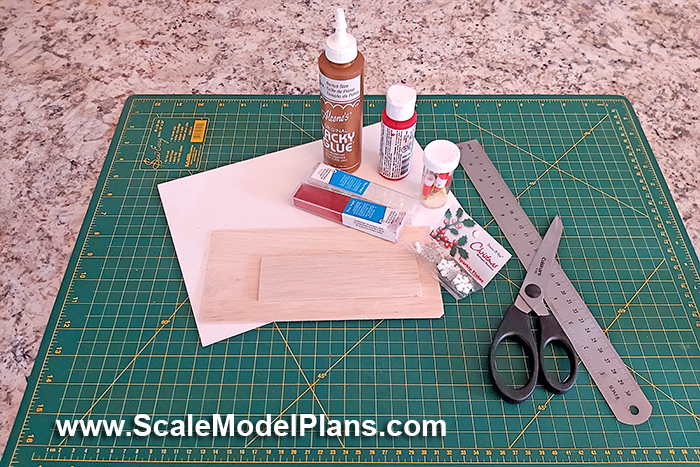
Tools and Material required:
- Scissors
- Hobby knife (optional)
- Steel ruler
- Craft glue
- CA glue (crazy glue)
- Craft paint
- 1/16" balsa sheet, or photo mat board
- 3/8" x 3/8" (or close) length of balsa for chimneys
- Glitter
- Small Christmas decorations (optional)
- one sheet of either matte or glossy photo paper.
Most of this can be found at dollar stores and hobby/craft supply stores. A small metal square is helpful, but not necessary.

What is included:
- Simplified Instructions
- Traceable templates for three separate houses, store and church (five in total)
- Printable color sheet of all required doors and windows
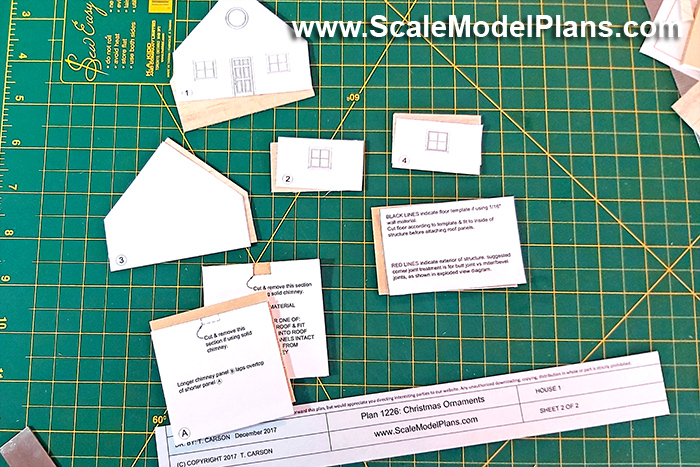
The first thing you will need to do is print out the PDF file, with the exception of the window and door sheet, to standard letter size paper. The window and door sheet should be printed on either matte or glossy photo paper. Specialty paper will bring out the color better than standard paper.
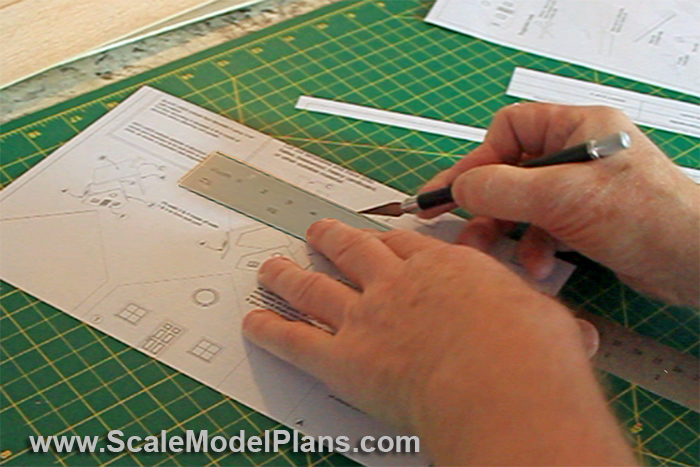
For nice straight lines you can use a metal ruler and a hobby knife to cut out the template pieces. Make sure to use a cutting mat to protect you table surface, and to prolong the life of the blade.
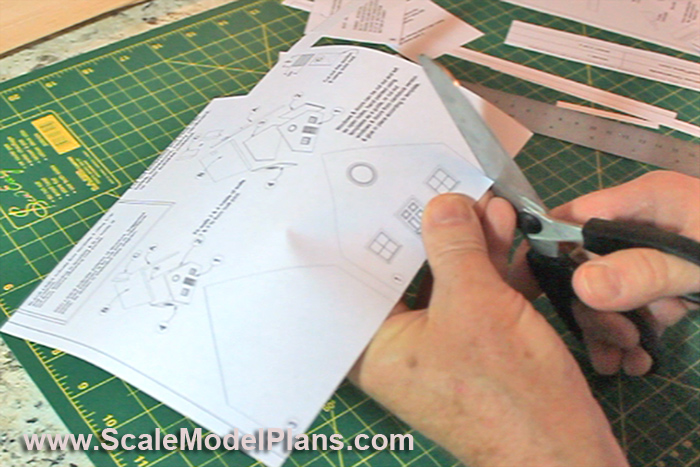
If you feel more comfortable, you can use scissors to cut out the template pieces.
Click here for Glitter House Plans
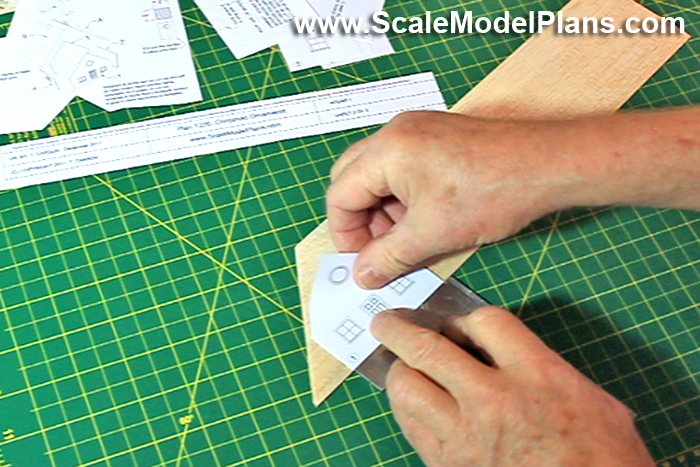
With the template pieces cut out, carefully layout each template onto the balsa material in the most efficient manner possible. Try to use at least one existing straight edge of material as a starting point. I use a metal square to help align the edge of the template with the edge of the balsa material.
Refer to the Links page for additional help and hints.

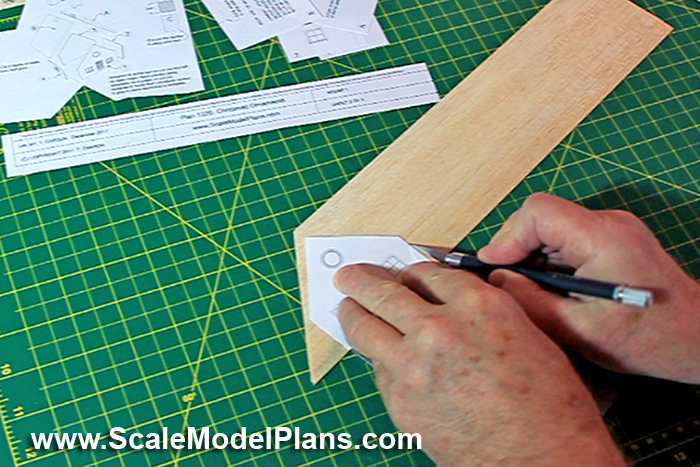
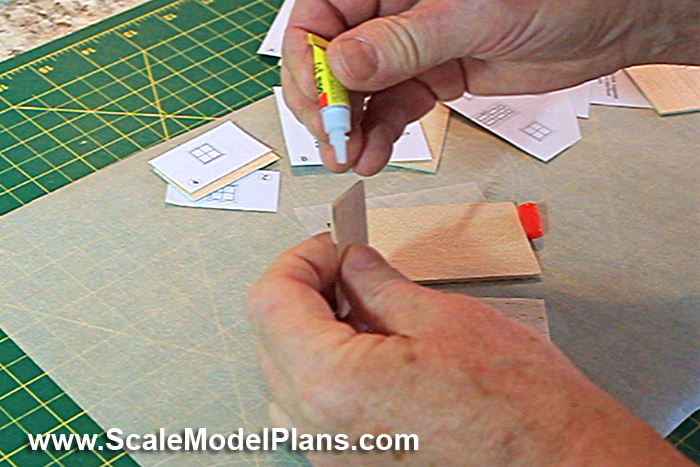
Mark and hold the knife along the first edge to be trimmed.
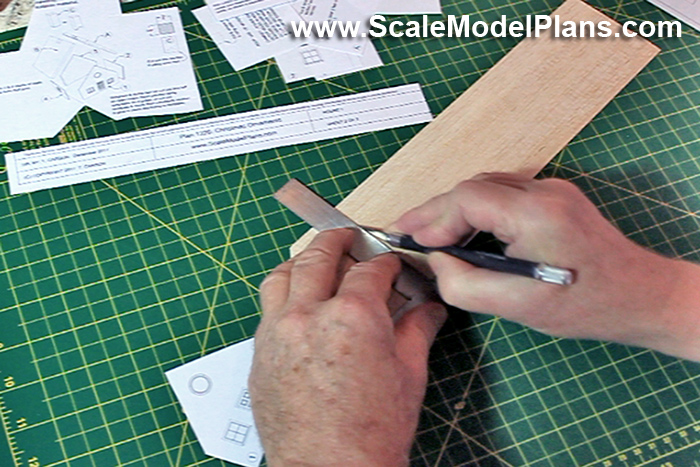
With the point of the knife still in place, align a metal square or straightedge.
If you are using a metal ruler instead of a square, you can leave the template in place while you trim. A square just makes it easier to create 90 degree corners.
Make several successive light passes with the knife rather than trying to cut through in one heavy pass. You will get a much cleaner cut this way.
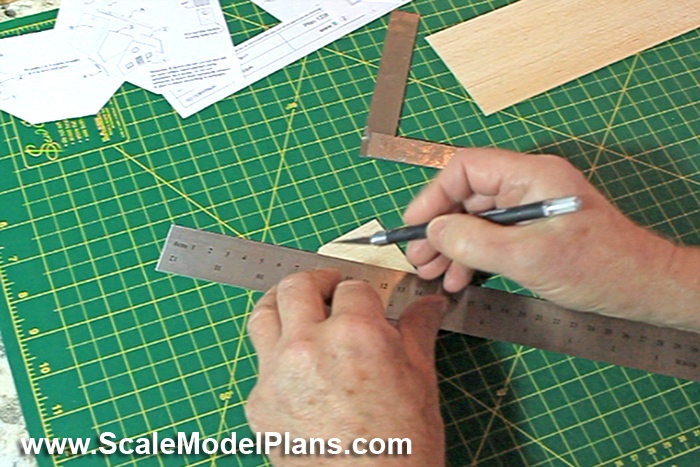
Continue to cut out the remaining pieces.
As you cut out each piece, match each template with the corresponding balsa piece. This will make it easier to identify each piece and it's orientation.
Click here for Glitter House Plans
CA glue, (Cyanoacrylate), is often referred to as 'Super Glue', which is actually a brand name. Generic brands can be found at many dollar stores or craft supply stores. Cyanoacrylate glues react in the presence of moisture, (fingers for example), so be very careful when handling. On the positive side, by gently blowing on glued joints, you can speed up the setting time. I find that 30 seconds is enough time for a glued joint to set, but experimenting will give you a better idea. Humidity is a factor. I have no advice for glued fingers.
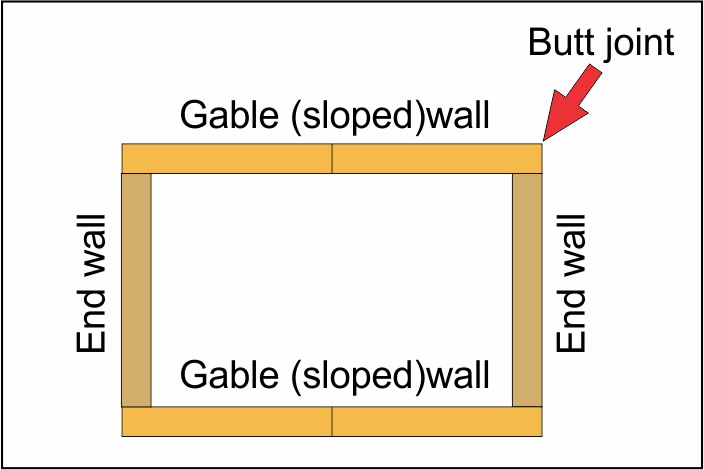
The glitter houses use 'butt-joint' at the wall intersections, as shown in the diagram.
Parchment works very well as a work surface for gluing up the projects. The disadvantage is that it tends to resist laying flat, and taping it down is difficult, as the tape doesn't stick very well. An alternative is wax paper.
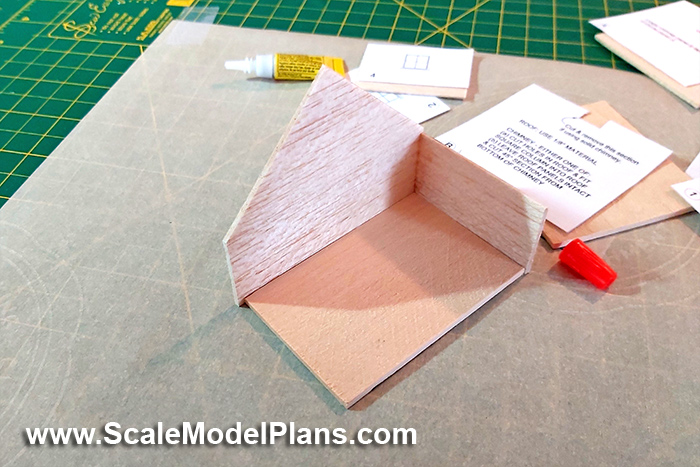
The floor piece makes a good locating jig for attaching walls, as it provides the required 90 degree angle for mating walls. With the exception of the Store, where the walls sit on top of the floor, you can choose to glue the walls to the floor as well as to each other at this point.
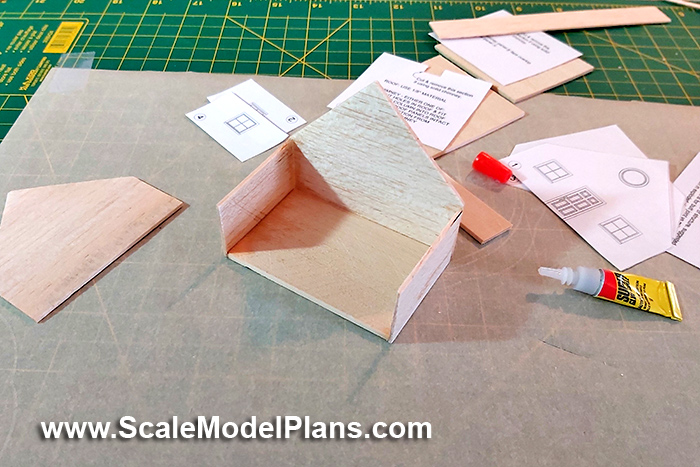
If you have trimmed the walls accurately you will notice that the four walls will fit together with correct butt joints and flush corners.
View our On-line Catalog
of N Scale and HO Scale plans, templates, and Cardstock patterns, then click to order the printable PDF files so you can get started on your next project.
Disclaimer:
Information provided in these tutorials is for informational purposes only. Owners of this website offer no guarantees and assume no responsibility or liability of any type with respect to the content of these tutorials and will not be held liable for any damages or injuries caused by using or misusing the information on this site, and anyone using these methods does so at his/her own risk. By viewing these articles you agree that you will not hold, or seek to hold, Owners of this site responsible or liable with respect to the content of this site. Processes illustrated on this website should not be undertaken without a complete understanding and knowledge of the safe and proper use of all related tools and processes.
Contact Us © 2023 T. Carson Legal