


Please allow Pop-ups from scalemodelbuildings.co in order to fully utilize our website

The appeal of Cardstock modeling is driven by more than just economics. Although there is a definite savings in not having to buy extra construction materials, there is also a sense of accomplishment and satisfaction in creating a complete structure with just a few sheets of paper and an ink-jet printer. My experience is that an inkejet produces better results than a color laser printer.
This guide does not claim to be the all-inclusive ultimate authority on cardstock modeling, but may present you with some worthwhile tips and tricks to create structures that will find a welcome place in your model railroad layout or diorama. You can also view the video tutorial by selecting View Cardstock video tutorial.
Introduction:
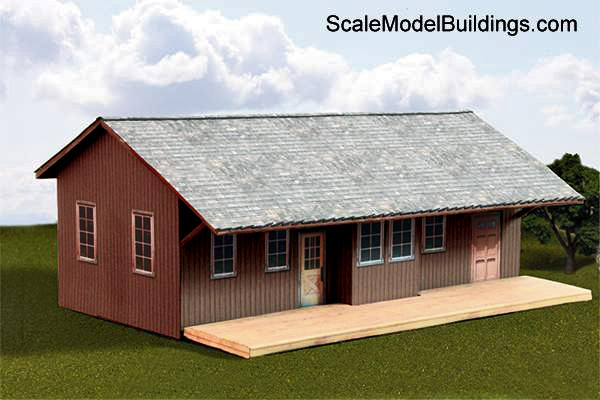
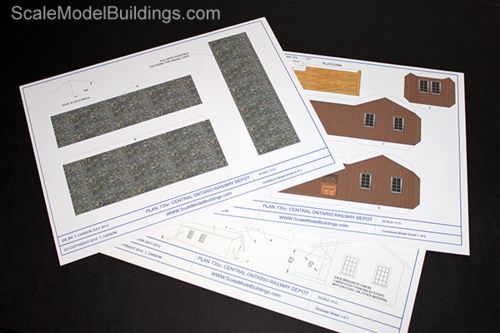
This guide follows the construction of Plan 735c from ScaleModelBuildings.com – the Central Ontario Railroad Depot, but is intended to be a generic guide to cardstock construction, not a specific set of instructions.
Unless otherwise noted, most scalemodelbuildings.co scaled plan packages also include photo-texture color cardstock printouts as shown in this tutorial.
This guide can also be used in the assembly of ScaleModelPlans projects finished with the Model Builder program.
Check out over 99 scale plans at scalemodelbuildings.co

Step 1:
As you become more comfortable with model building you will develop your own preferences, but here is a list of tools used in this guide:
- Steel rule “Dry” ball point pen (no ink)
- Single-edge razor blade
- Plastic straight edge
- Scissors
- (Sewing) thread snippers
- Scrapbook paper folder (optional)
- Utility knife
- Cutting mat
Refer to the Links page for additional help and hints.
Step 2:
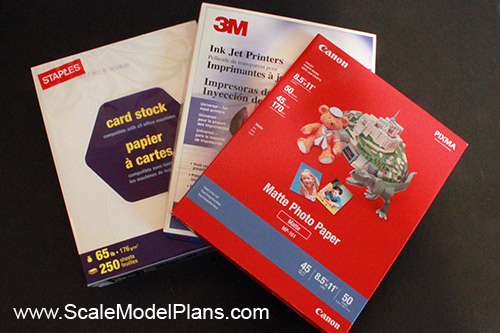
The first step is to decide on how many sheets of cardstock or matte photo paper you will need, and place them in the printer. If using photo paper make sure to have the coated surface facing the correct way. To save costs, template sheets and plan views can be printed on plain paper.
Most of our cardstock patterns can be printed on 8 ½” x 11” cardstock, but some of the O Scale versions require 8 ½” x 14” sheets. Our new versions all print to standard letter size paper. Cardstock and photo paper are available at most office supply outlets, or see the website for suppliers and links.
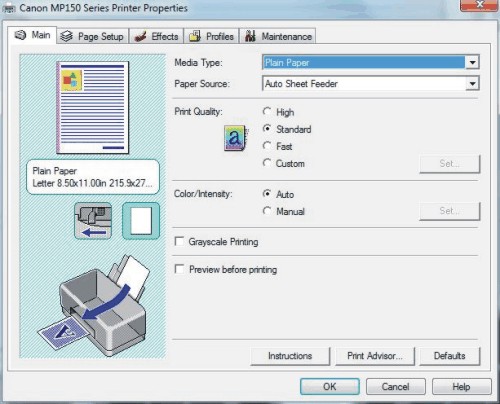
Decide on printer resolution, (High, Standard, etc.). Results will be a personal choice and will vary from printer to printer.
Step 3:
Paper Selection:
Some builders print to color inkjet paper and apply panels over top of foam board or balsa, but my preference is to construct the entire model from paper or cardstock, and insert reinforcing pieces if necessary.
These are recommendations only - you may develop your own preference.
- Z scale: use color inkjet paper
- N scale: use matte photo paper
- TT scale: use matte photo paper
- HO scale: use matte photo paper or 64 lb. cardstock
- OO scale: use matte photo paper
- S scale 64 lb. or 110 lb. cardstock
- O scale: use 110 lb. cardstock
Step 4:
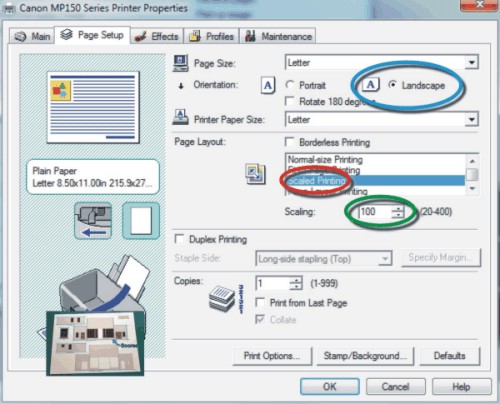
Select Portrait or Landscape, depending on the Pattern orientation, (the way it appears on your computer). Do a Print Preview if possible.
* Make sure to choose Scaled Printing and Scaling: 100%, otherwise your structure will not end up the proper scaled size for your layout.
Not all printers will have the same settings, so you may have to experiment.
* See tutorial on printing other scales such as Z, TT, S, etc.
Step 5:
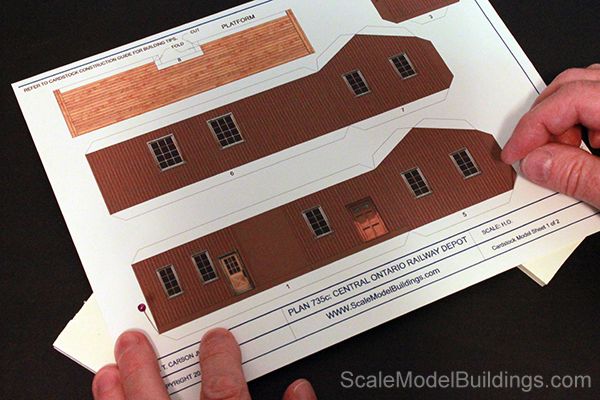
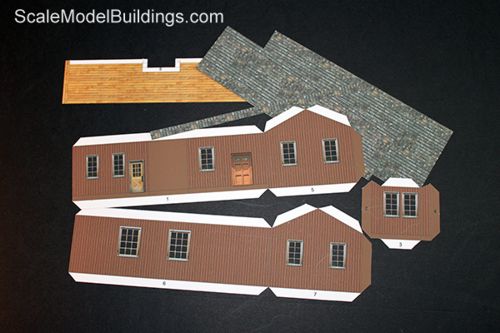
Once the sheets are printed out you should take some time to visualize how the components will fit together.
This is Plan 735c, “COR Depot”, but the assembly techniques are common to most plans, so it should provide a good example.
Note that on some plans there may be one sheet containing only floor and roof panel sub-surface templates, which can be printed out on ordinary paper as opposed to cardstock.
Step 6:
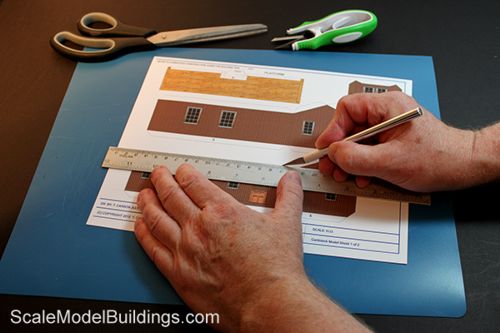
Next, you’ll need to score along all the fold lines to allow nice sharp corners.
Scoring can be done on the printed side, but you can get much nicer outside corners if you score along the back side. To do this you’ll need to transfer the locations of the scoring lines to the back side of the sheets. You can do this with ordinary sewing pins. Poke a pin through the sheet at each end of the fold lines. Scraps of foam board underneath will help the process, and protect your work mat.
DO NOT score decorative lines that are not fold lines. This will weaken the structure.

Visit our News Page for monthly discounts on select plan packages.
Up to 15% off!
Step 7:
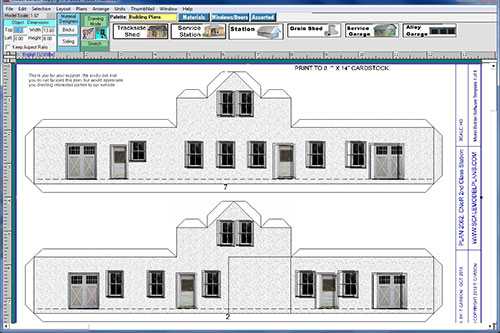
This is an example of a scalemodelbuildings.co WMF Template file finished using Model Builder software. All scalemodelbuildings.co plan packages come with templates to be used in Model Builder.
The example is from Plan 2062 - CNoR 2nd Class Station in Radville Saskatchewan.
Step 8:
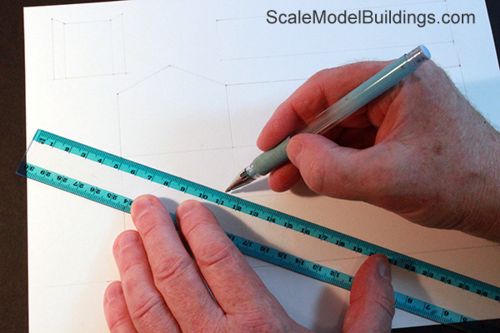
A ball point pen that has run out of ink makes a great scoring tool. Run the pen several times over scrap paper to use up any remaining traces of ink. Make sure that the ball is not seized, or the cardstock could tear.
A transparent straight edge helps to locate the scoring lines. Hold the straight edge firmly to avoid slips. You will notice that the tip of the pen will fit into the hole made by the pins. This will help to create the score lines in the correct locations.
Step 9:
Before cutting out the sections visualize the assembly and how mating walls will attach to each other.
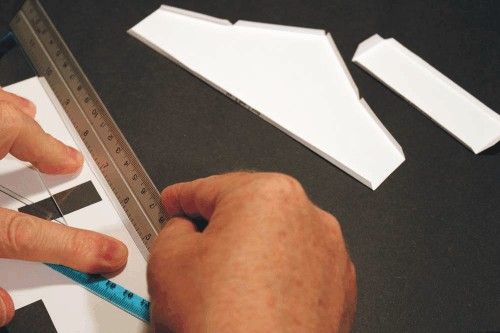
You can use scissors or a hobby knife to cut out the sections. If using a hobby knife make sure you have a cutting mat underneath, and use a steel straight edge. Be careful not to cut off any folding tabs.
To make the sections easier to handle, you can cut them out to rough size with scissors, then trim more accurately.
Step 10:
With all of the panels cut out, refer to the plans to visualize the assembly.
Step 11:
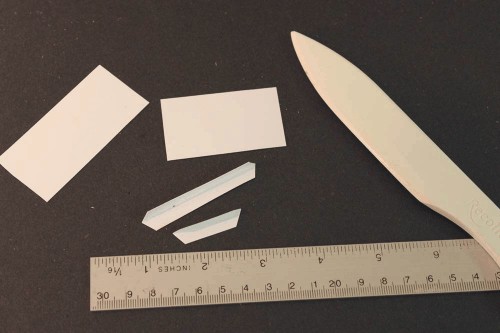
If you miss any folding tabs, or accidently removed them, you can easily make extras from scrap cardstock and add them in. Score and fold just as you would with the original tabs.
Step 12:
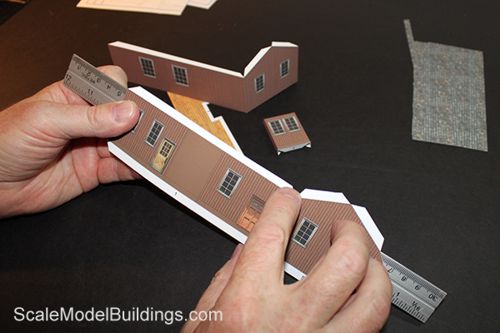
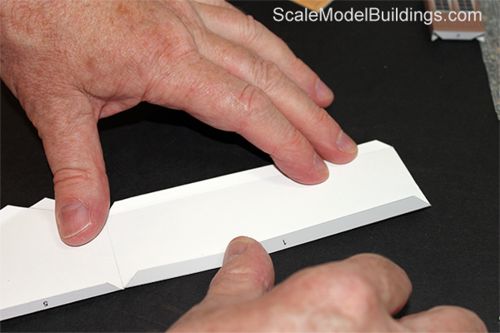
Use a straight edge as a mandrel to create sharp folds. Line up the fold line with the edge of the straight edge and gently crease along the length of the fold line with your finger. Repeat a few times, gradually increasing the angle of the fold.
Step 13:
Ideally, you want to fold the tabs beyond 90° to create sharp corners. The final pass should be a sharp crease made with your fingernail. Once the sharp crease is established you can bring the folds back to the correct angle.
Step 14:
Alternate method:
For long fold lines a makeshift “bar-folder” can be fashioned with two straight edges held snugly together while drawing up on the tab. Finish the fold by creasing with your fingernail.
Step 15:
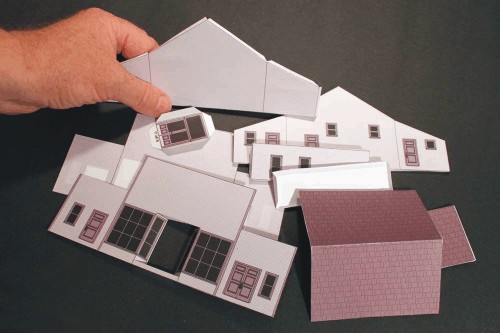
With the folding complete it might be a good time to take inventory to make sure you have all the pieces cut out and ready to assemble.
This is Plan 1200, Watson’s Store.
Step 16:
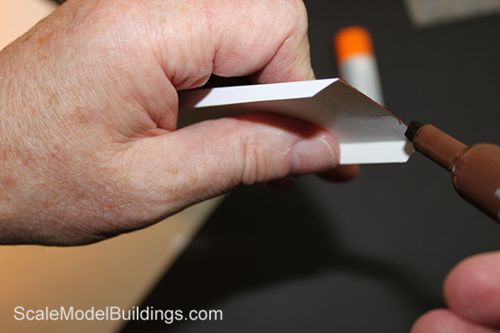
Any raw edge that will be exposed after assembly should be touched up beforehand with chalk, oil pastel, pencil crayons, or marker of a matching color, otherwise, the white edge of the cut may stand out.
Step 17:
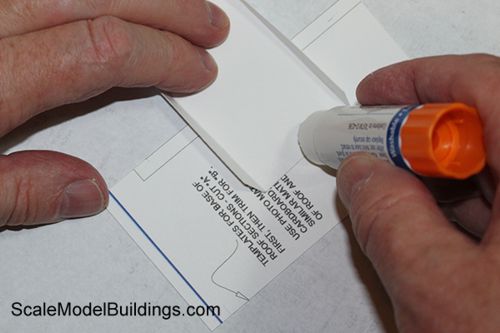
You will develop your own preferences, but I find it easier to glue the inside walls rather than the joining tabs. Use scraps underneath to prevent glue on your work area.
Glue sticks, (not the purple school type), a thin coating of white glue, or craft glue will work to assemble the sections. Do not use crazy glue as it will soak through the cardstock and give it a transparency. Scotch tape or transparent tape applied to the inside surfaces will help to hold things together while the glue sets.
Visit our News Page for monthly discounts on select plan packages.
Up to 15% off!
Step 18:
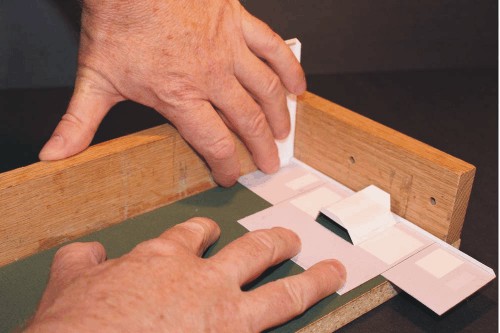
With practice you may be able to line up the wall corners by hand, but a jig can be used as well. This homemade jig is used by forcing the mating edges snugly into the corner of the jig.
(Plan 1200 shown)
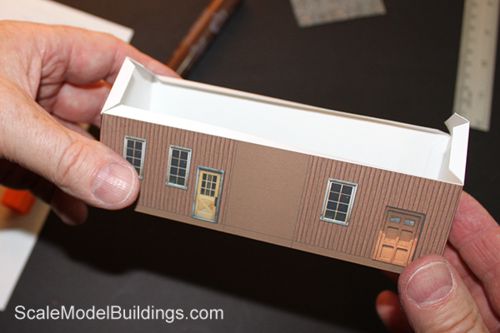
Step 19:
Here is the basic structure of Plan 735c with walls assembled.
Step 20:
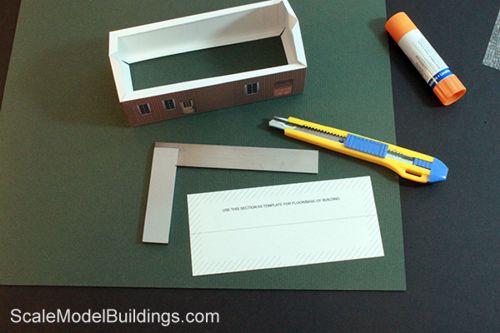
A carefully cut out floor will greatly reinforce the structure and help to ensure “square” 90° corners at the wall intersections.
Photo mat board or balsa sheets work well, and are easy to trim to shape.
Hint: If you know anyone with a framing shop or photo studio you may be able to get some scrap pieces quite cheaply.
View our On-line Catalog
of N Scale and HO Scale plans, templates, and Cardstock patterns, then click to order the printable PDF files so you can get started on your next project.
Disclaimer:
Information provided in these tutorials is for
informational purposes only. Owners of this website offer no
guarantees and assume no responsibility or liability of any type
with respect to the content of these tutorials and will not be
held liable for any damages or injuries caused by using or
misusing the information on this site, and anyone using these
methods does so at his/her own risk. By viewing these articles
you agree that you will not hold, or seek to hold, Owners of
this site responsible or liable with respect to the content of
this site. Processes illustrated on this website should not be
undertaken without a complete understanding and knowledge of the
safe and proper use of all related tools and processes.
Contact Us © 2024 T. Carson Legal